

By the way, I was happy to run into Herb today, and show him my teapot, and let him know that his lidded Japanese-style pots which he throws as a closed form and cuts the lid on the wheel, so they have a very precise fit, were the inspiration for me exploring these cut-out lids, in floral shapes. There are so many talented people that I have the pleasure of working alongside, and I am an unashamed sponge, learning all I can from each person, and hopefully being an inspiration to them also.
After finishing the handle and lid of the teapot, and setting it aside to dry, I started glazing my 12 pieces which have come out of the bisque firing. I finished 10 of them today. Very good progress. Here are some photos of the items before glazing :

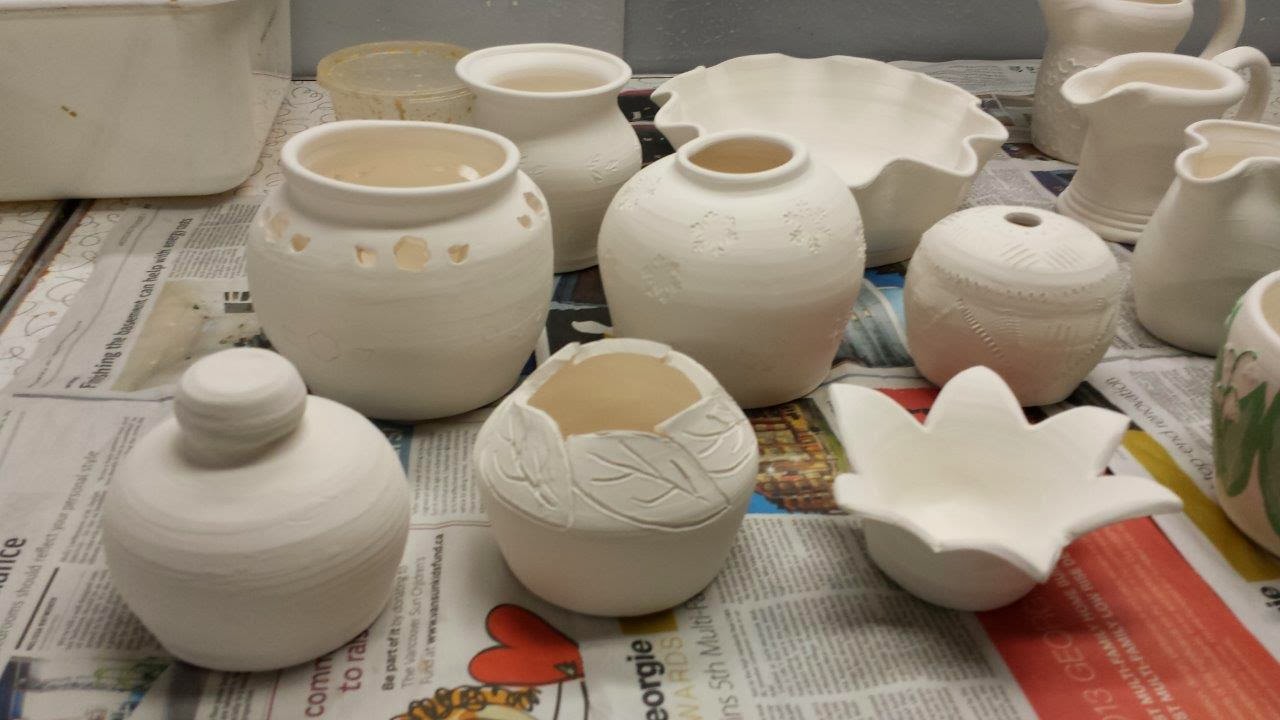

I'm experimenting with different glazes and glaze combinations than I have used previously. So no Matt Green and Deep Blue combinations. One thing that makes glazing so fun and also bewildering, is that the colour of the glaze when applied is often nothing like the colour of the glaze when fired. And all of them are very opaque when applied. So for a newbie like me, it is hard to visualize how the final product will look. I base my glaze colour choices on the glaze sample tiles on the wall, and my limited experience with the combinations I have tried. For example, this little one is glazed in Amber Celadon, which looks like a rich chocolate colour - at least on the sample tile.


... then scrape it with a metal rib :

... then to apply a second glaze (in this case, Matt Green) :

... the result is that you will get Matt Green (in the areas scraped clean), and Matt Green over Tenmoku in the other areas. As you see, I didn't scrape very clean, since I liked the combination colour, at least on the sample tile. There is good chance the glazes will run together, but the pattern should still be more noticeable than if I just used a single glaze and hoped for it to pool in the carved areas.
I used this technique in the bottom of a bowl in which I had created a spiral pattern before removing it from the wheel. In this case, I painted and then scraped Matt Green, and afterward dipped the whole piece in Celadon, which is a very light aqua colour. Here it is before being dipped in Celadon :

No comments:
Post a Comment